Another #KidWrencher Project
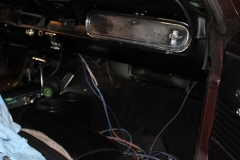
While on a test run of his son Marcus’ ’66 Mustang, Tim knew something wasn’t right when smoke started curling up under the dash and quickly filling the cabin. He pulled over, shut off the key, popped the hood and without any tools ripped the ground wire off the solenoid avoiding a near fatal melt-down.
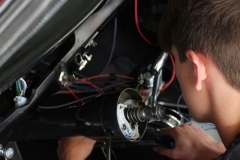
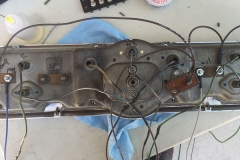
Marcus recalls that when his father was tightening up the speedo cable, apparently some of the brittle under dash wiring must have broke and shorted out.
This sounds familiar to us, doesn’t it? You are doing something on your classic car and inevitably something else breaks.
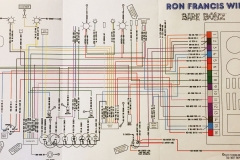
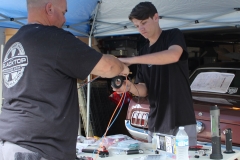
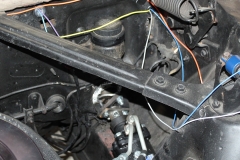
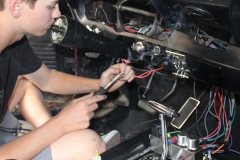
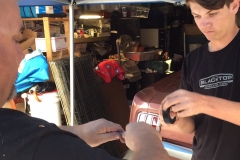
They saw the work we did on Blacktop’s ’56 Fairlane Project Riff-Raff a little over a year ago and asked for some assistance. With a Ron Francis Bare Bonz kit, we proceeded to re-wire the car. That’s one thing I dig about this kid, my nephew Marcus, he will just dive right in and get busy doing something that most seasoned car guys shy away from.
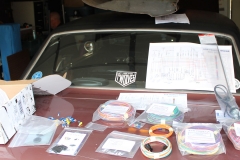
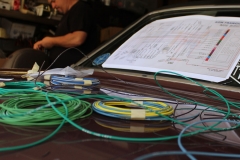
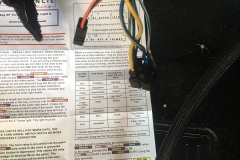
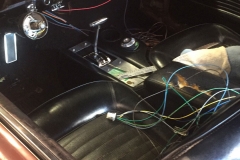
The Ron Francis Wiring kits are pretty easy to install, just be sure to go one bag at a time in alphabetical order. We laid out each bag in order, however didn’t mount the fuse panel till the end. We mapped out where it would be, in the center of the firewall under the dash. And wired it up on the floor under where it would be mounted. We did this because the firewall is pretty deep under the dash, and we were going to mount it upside down so all the wires would be above the panel. We opted for ring connectors to the panel in lieu of fork connectors. That means we would need to remove the set screw completely, and with the panel being mounted upside down the opportunity to drop the screw in the panel is rather high.
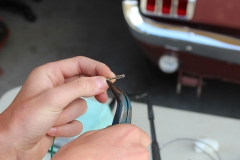
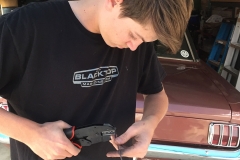
My buddy Craig “Jerzy” Maiorana was there for me when we wired the Fairlane, and I thought I would show Marcus all I learned from Jerzy. We cleaned the terminals of any plastic protectors and crimped, soldered and heat shrinked all the terminals.
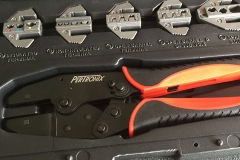
We highly suggest getting the PerTronix crimpers for a job like this. For under $90 bucks this is a tool your buddies will surely want to borrow. It features 5 pairs of quick-change die sets to professional crimp the 5 most common automotive terminal types from 18ga to spark plug terminals.
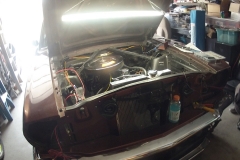
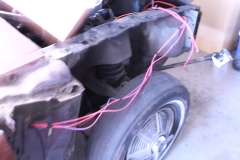
Marcus and his father decided to remove the front fenders, grille and headlight housings. This wasn’t necessary for the job, but they were looking at installing an antenna on the passenger fender and was really just curious why the panels weren’t fitting quite right. They found that the inner fender splash shield was missing on the passenger side and the rubber seal on the driver side was beat. Since the fenders were off, we decided to route the wires through the fenders to help clean up the engine compartment.
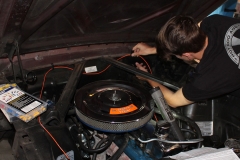
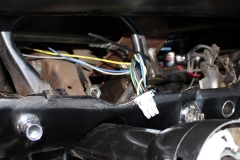
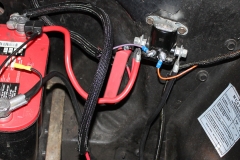
After all the wires were laid out and trimmed to size we decided re-install the fenders and start terminating the ends. We used a 9 pin connector for the gauge/dash wiring so you can take the gauge panel out without disconnecting all the gauges. (another tip from Jerzy). We used a terminal block on the inner fender between the battery and starter solenoid (a tip from Albert Traille) so you don’t have a bunch of wires stacked on top of the power supply.
The only real challenge we had was with the dang neutral safety switch. Coming from the transmission were four wires; two red, two black. So I figured one pair of black and red wires was for the Neutral Safety Switch and the other for the reverse lights. We tested all the variations of the two wires from Ron Francis with the stock wires and nothing worked. It wasn’t till we ran a tester we borrowed from our friend Joey from Underoath car club that we found the two red wires were for the neutral safety and the two blacks were for the reverse lights. Seriously?
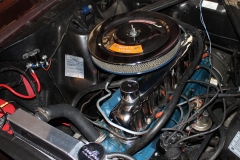
After zip tying and gathering groupings with flexible braid covering we estimated approximately 40 hours to do the job between Marcus, his dad and me to complete the job and satisfaction was complete when we turned the key and it started right up with no sparks or smoke!
Story: Tony Colombini, Photos: Blacktop Media Network Staff

