Full Size Ford Power Steering Conversion
There is something magical about driving an old car. Now, I don’t mean to wax philosophical on you, but if you have been behind the wheel of a classic car, I am sure you feel it too. Especially these days. These days where all the cars tend to look the same. At first it was the older folks who see you cruising down the street would give you a thumbs up as they reminisce about a time where the streets were full of heavy iron. Recently, though, I have noticed kids stopping to see the gleaming chrome, the shiney paint. They recognize it as something different. And I mean little kids. There was a family out front playing in the yard, and I’d guess a three-year-old girl, stopped and pointed at me as I rolled by.
They can’t help but smile.
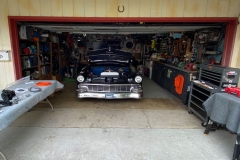
I just returned from my weekly coffee with my Mercifuls Car Club buddies and took notice of the experience of driving this old car. This old car, is a 1956 Ford Fairlane Club Sedan which I bought about 17 years ago. It already had the ’68 390 with GT heads in it and at the time Torque Thrusts II wheels with black-wall tires. In the past few years, many of you have seen some of the transformation to the car. Most notably the metal-flake, candy and lace paneled roof done by the super-talented Hitoshi Umekage at Cambra Speed Shop. With that paint job the Torque Thrusts had to go and replaced with Ford Sedan Wire Wheels from Wheelsmith and 1” whitewall Auburn tires from Diamond Back Classics. That combo transformed the ride immediately to a smoothness never felt before in the car.
The ride is smooth, however the steering was not. A bit loose, where you have to really pay attention to where the car is pointing. Going down the highway it would move from one side of the lane to the other. There was about a quarter play in the steering wheel and all around wonky. I never really liked the way the power steering pump and reservoir were separate. The reservoir was up on the inner fender well and always crooked. It was a pain to open and fill with out spilling fluid all over. The steering box appears to be stock and it pushed a power ram setup underneath the car. With the torque thrusts and lower profile tires the rubber lines would occasionally scrape the ground and started to show wear. I just knew, sometime soon, that line will burst. That’s when I decided a change was needed.
Borgeson Universal to the rescue.
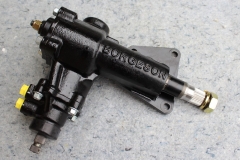
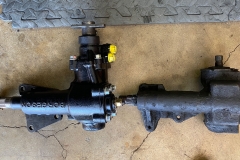
Borgeson has a complete kit to convert your full size 52-64 Ford from either a manual or like I have a power assisted ram steering to a power steering box eliminating the power control module and ram on the center-link under the car. The newly U.S. manufactured power steering gear box features a quick 14:1 ratio with a firm modern car feel.
Recently Borgeson moved from its home since 1914 in Torrington, Connecticut to over 100,000 square foot facility in Travelers Rest, South Carolina. This gave them plenty of room to expand as they previously acquired Mullins Steering Gears in 2001 and in 2012 acquired the original equipment, tooling, drawings and the OE manufacturing rights for all Saginaw manual steering gear boxes. I’d say they are committed to the industry with this expansion and investment in their company, products and people.
So how did all this fit in?
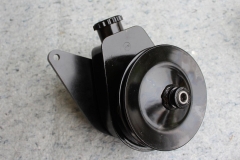
The Full-Size Ford Conversion Kit #800115 includes the power conversion box, choice between a universal joint, rag joint or coupler, Saginaw Power Steering Pump, 2-row add-on crank pulley for Y-Block (if needed), and the Power Steering Hose Kit. Since we are running a 1968 Ford FE Block with a three row crank pulley we didn’t require their Y-block unit.
Here’s the challenges we had. As many of you know, I am not trained in automotive repair and have a moderate understanding of mechanical operation, so I enlisted the help of my buddy Gordon McIlonie, President of Mercifuls Car Club and all around great guy to help out and offer some advice. Especially when things went outside of the scope of the detailed instructions we got from Borgeson.
We got busy tearing it all apart. Gordon is more familiar with the GM side of things so at times the Ford throws him for a loop.
First thing we tackled was the power steering pump installation. We made quick work removing the old pump and remote reservoir. A bit messy but it all came out without a hitch. The brackets holding that old unit together were tweaked to where it made adjusting the belt an all-day project. There were three bolts to loosen to get the pulley adjustment right and it was at a slight angle to the crank pulley so belts wore out quickly.
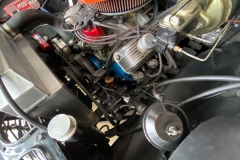
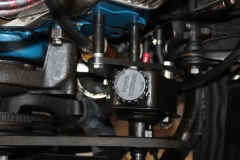
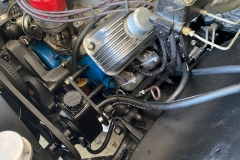
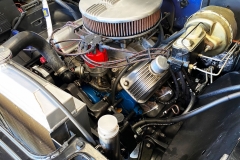
The new Saginaw pump comes with a bracket to fit the FE. We put it on and realized that with this motor/vehicle combination the pump hits the upper control arm just a bit. So challenge number one found and now we have to modify the bracket. I take it over to our friends at Cambra Speed Shop where they made quick work to cut the bracket and drill a new hole to bring the pump closer to the engine. We align it to the outer-most row on the pulley to keep the belt away from the lower radiator hose. Also because of the bracket modification we had to install it to the engine, then the pump/reservoir to the bracket. The modification also allowed us to install the pump lower in the engine bay which makes for a super clean look. Now with one bolt we can adjust the belt as needed.
Next up is the demo of the power ram and manual box.
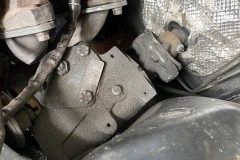
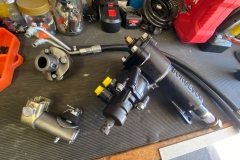
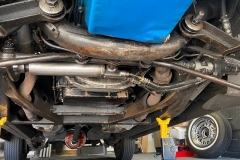
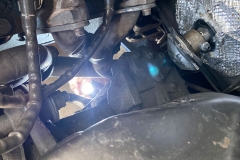
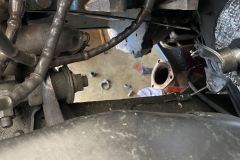
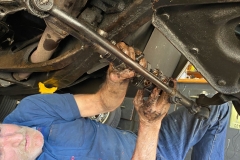
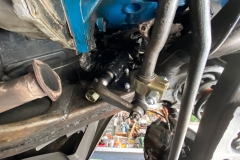
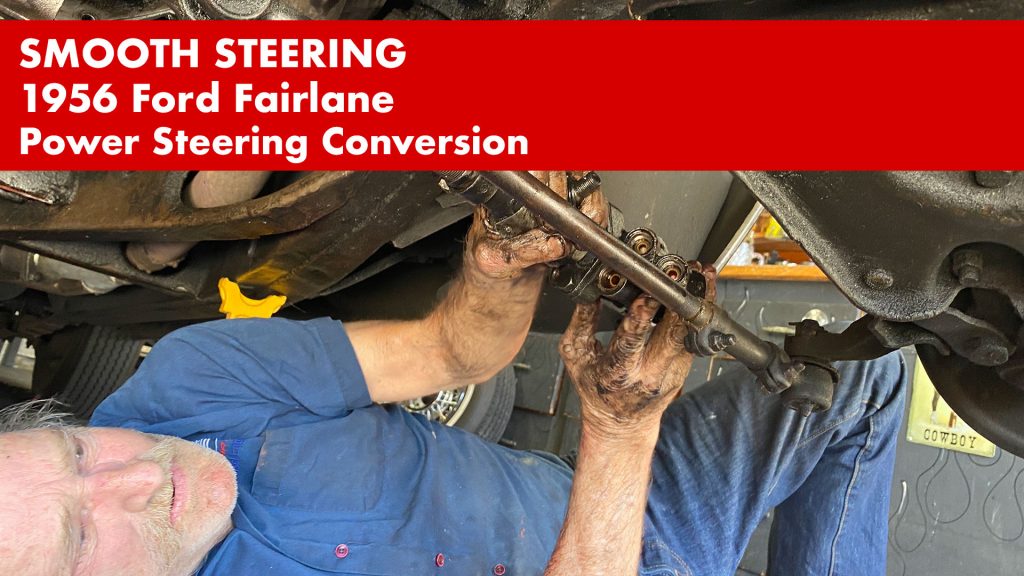
My car is a mess. Ever since the engine was rebuilt about 14 years ago, it has leaked oil just a bit. A little bit from the valve covers, rear, heads, and oil pan. It hasn’t been so bad that I need to pull it and re-gasket the thing. With that, this was a messy job for sure. Not one to be dismayed on the mess, Gordon just got right into it. We took off the power module, ram, and then tackled the box. We know it is going to be tight with the headers so close. We tried every which way to get that brick out of there without removing the headers. To no avail. I am pretty positive these are custom headers and on this side, they are in two pieces, front and back. We removed the back half and was able to get the box out. I just can’t think about how tough it is going to be to get the header back on, but we will get to that later. With the box out, we go to put the new box in.
Here’s a tip. Gordon suggested we spin the steering gear box around to one end, then count the turns to bring it to the other end. Then go back half-way to “center” the box before installing it. He told me of a story where “a friend of his” didn’t do that and when he went to test drive it, the truck would only steer to the left as if it was a NASCAR racer. I prefer road racing over left turn ovals, so I did what he suggested.
After the box is all installed I installed the rear half of the headers. Some exhaust gasket material from Reids Rod Parts in Orange, keeps the leaks down to nothing. It wasn’t as difficult as I thought, just a bit of a Jenga move to get the header up in the correct position, install the bolts loosely till all are in place then go around and tighten it all up.
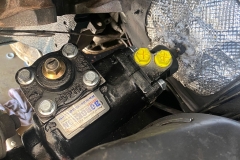
Oh boy, what a difference. The new box fits up there with the mount on the frame like the original box, but the other end is right up to the firewall. So much for using the Rag Joint. That would require some modifications to the firewall that I just don’t want to tackle now. We opted for the coupler. After installing the coupler, we found the steering column was a bit to the right of where it needed to be to connect under the dash. The instructions from Borgeson suggest that you may need to shim the bottom bolt of the box for proper alignment. I added a couple of washers and it lined right up to the dash, but, hung too low. Then we opted for the Universal Joint.
I installed the universal joint to the IDIDIT steering column with the 1” DD end and pushed it through to attach the other end to the 11/16-36 spline on the box. I couldn’t get it to slip in for the life of me. Maybe another pair of hands, but at this point, I was on my own. I then thought, well, maybe install the U-joint to the box first and slip the column into the DD end. That worked much better. It slipped right in and now I have it installed.
With the power control unit off the center-link we need the “Drag Link Adapter” available from Borgeson. This saved us from having to find a new “manual center-link” for the Ford. After installing that we are able to install the pitman arm to the steering box and the center-link.
Another modification needed.
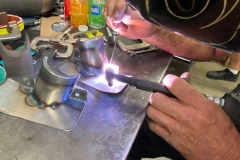
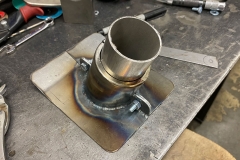
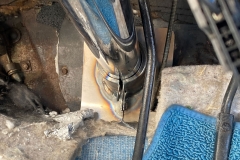
That’s what it’s like working with these old cars that have special circumstances. With the engine/vehicle combinations, there is always a twist. Since the U-joint is half in the cab and half in the engine bay, the stock bracket to hold the bottom of the column won’t work. So, we are off again to Cambra Speed Shop. Ron Cambra knew exactly what it needed, and he enlisted his chief fabricator Rick Kersh to the job. Rick made quick work on building a new bracket using a 2.5” tubing and flat plate steel to build a 2-piece bracket that comes up from the floor far enough to grab the steering column and clear the rotating assembly of the U-Joint. The tig-welded piece is almost to beautiful to cover up. I spray it with some trim black and get it installed.
And yet one more modification.
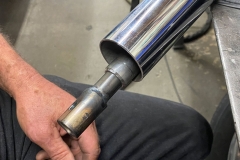
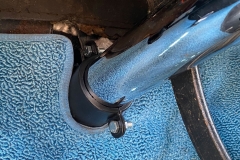
I like my steering wheel. It is a custom job from our friends at CON2R, where you choose color, spokes, and so forth to build a wheel just right for your car. I like it a lot. However, I don’t need to kiss it everytime I drive. SO, modification #3 cut the steering column. We chopped 4” out of the steering column. Again, with the help of Rick at Cambra Speed Shop. He expertly cut the DD end off, sectioned out 4 inches in both the column and the chrome tube, then inserted a rod and welded it all back together. Now the steering wheel is back where it belongs closer to the dash than my face.
Now for the finale.
Time to install the hoses. Borgeson marks the steering gear box with embossed arrows to point you in the right direction of pressure intake (from the pump) to return line (unpressurized and closest to the steering column). We ran the return line up to the original fluid cooler located in the left fender well, and another line from the cooler down to the pump. The pressure line from the pump to the box. With all that installed we filled the reservoir, and turned the key. Time to bleed the line and make sure we have full travel. With the wheels in the air we turned the wheel back and forth to see that this novice did in-fact install it all correctly. Now it’s time for a test drive.
This brings me back to the beginning of the story where the car rides so smooth. Steering, especially in slow speeds like backing into a space at a car show, or navigating a cruise route is effortless. And on the highway, it is rolling straight as can be and no more lane floating.
Do yourself a favor. If you have any issues with steering give the guys at Borgeson a call. Maybe it’s an adjustment, a new rag-joint, or time to swap out the system like I did, you will truly enjoy the ride. Oh, by the way, anybody want a slightly (OK, well-used) power ram set up, I have just the one for ya.

