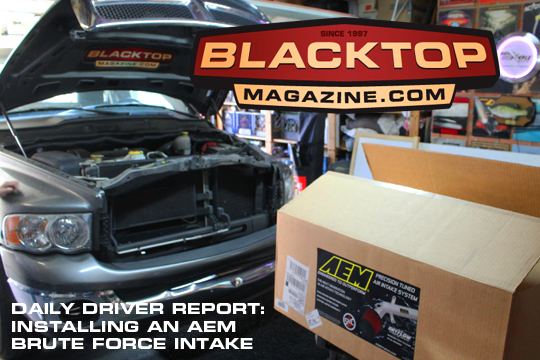
Installing an AEM Brute Force Air Induction System.

Pics/Story: T-Bone Check out the video at BlacktopTV!
This is the first in a series of articles to come this year where we update our shop truck into The Blacktop Bruiser. First the skinnies on the truck:
2005 RAM 1500 5.7L Hemi standard cab with 43,000 miles. Mostly stock ‘cept the 20″ stock wheels off of Billy’s 2007 RAM 1500 Crew Cab Big Horn edition and a Linex bed liner.
Billy and I will be challenging ourselves with installing upgrades on this truck, his truck, our ’56 Fairlane and 2004 Harley Road Kings (his with a sidecar). We have no training on working on cars, just tinkering here and there and want to share with you our experience with certain kits to test out the instructions. We don’t have any air tools (unless a sponsor comes up), just ratchets, wrenches, electric hand tools and elbow grease.
INSTALLING THE AEM BRUTE FORCE INTAKE:
The story begins when we open the box from AEM. Excited to see the system. The system is all metal and by looks, fairly easy to install. Good thing. We ordered the powdercoated model and found the intake tube to match the truck perfectly. I read through the directions prior to installing. I know; this goes against all things male. Looking forward to a day in the garage, we pulled the nose in and got to work. In hind-sight, probably should have cleaned up the engine compartment for the photos, but oh-well, it’s our driver.
All-in-all the installation was pretty easy, however a bit involved. We had to remove the inner fenderwell cover on the front passenger side. Eight screws and a bit awkward.
The seventh step in the installation required to remove the inlet air temperature (IAT) sensor from the air resonator. The what from the where? The instruction say to: “gently twist counter-clockwise”. I hate that word; gently. I repaired the glass on my iPhone once and I guess, wasn’t gentle enough and broke the lcd screen. Uggh. Don’t want to break anything. Well, I got all zen with it and worked it a bit then a quick light snap and it came right out without any damage. WHEW!
We also had to remove the throttle body to install the supplied 1″ spacer. The instructions (click here to download) say to unplug the electrical connector and remove the throttle body from the intake manifold. I muscled the connector for a while and decided to not break it and remove the throttle body and set it aside being careful of the attached wiring. Found no need to unplug. We installed the spacer with the 0-ring attached and quickly bolted the throttle body in place with the shiney new bolts provided in the kit.
Putting it all in was a snap until it came to the front bracket for the air box. It uses the top bolt on the radiator shield mount. Of course the jokers at Dodge have to make that super tight to get into. Not wanting to remove the overflow bottle we muscled through and got a bit of meat on the head of the bolt and after a couple of drops, got it in without a problem. The only other challenge was the oily film on the filter’s plastic/rubber opening. The damn thing kept sliding off the intake tube. So we hit it with a squirt of windex, cleaned it up and tightened it down real good.
NOW FOR THE TEST DRIVE!
I was hoping for a bit of a noticeable difference. WOW! Was I surprised when I stomped on the gas and I heard a big WAAAA of nice cold air going into the engine. After the tire smoke cleared there is a noticeable increase in torque. I reset the fuel economy setting on the overhead gauge and in a month or so will see how well she does with fuel economy.
This two hour install and the reasonable price of the kit was well worth it! Can’t wait to go run some errands. Check out the video at BlacktopTV! And be sure to stop by AEM and order your kit today!


