The Lessons Learned.
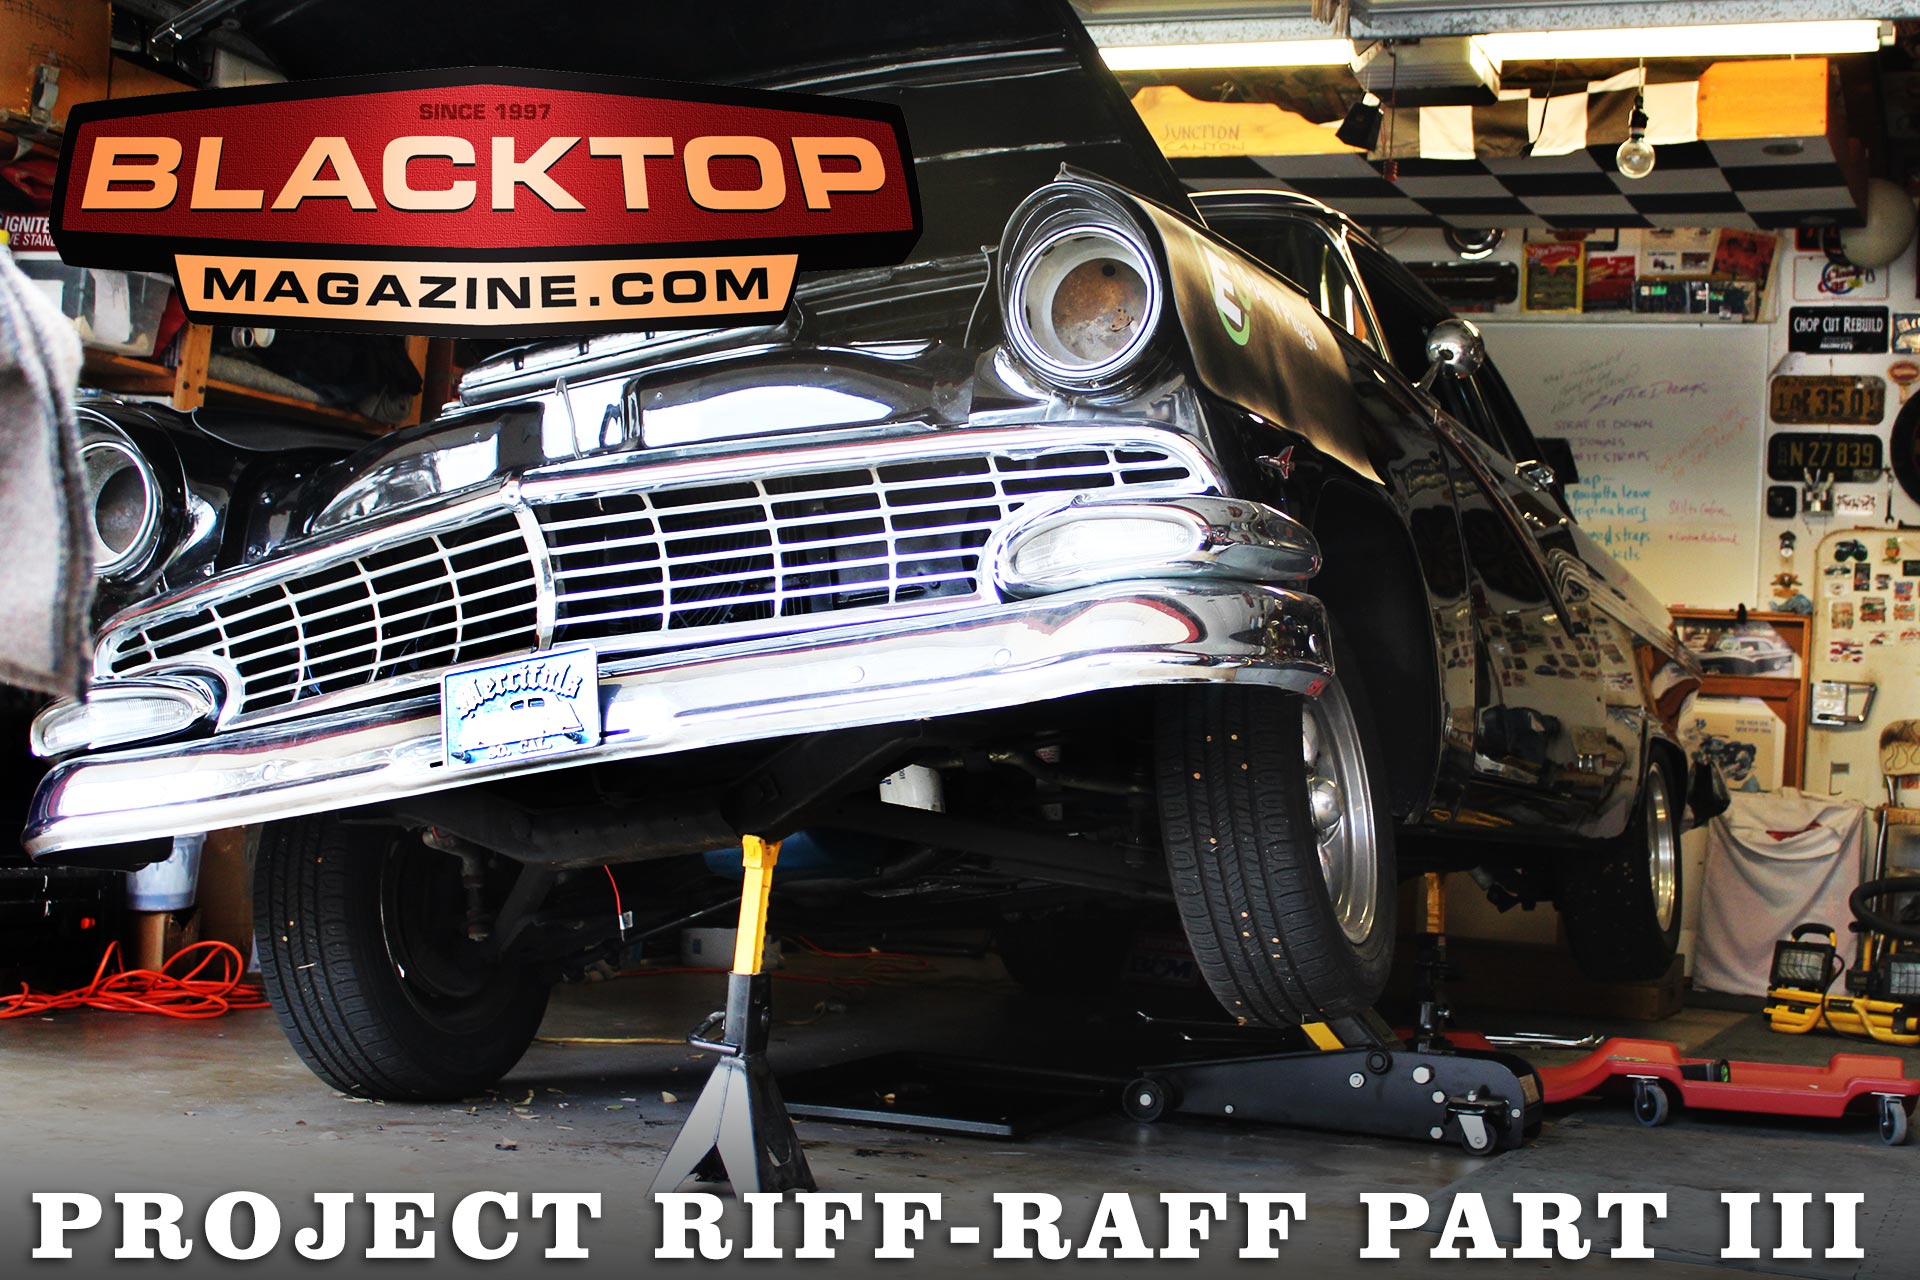
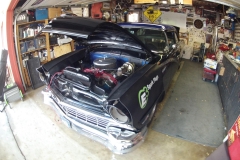
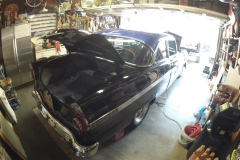
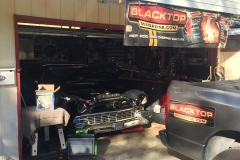
This has been one fantastic journey diggin’ into my car, and learning quite a bit about it and what I can do to make it better.
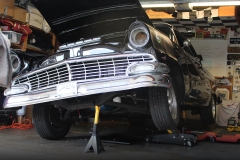
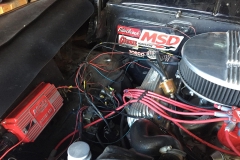
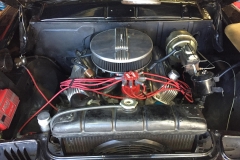
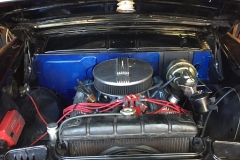
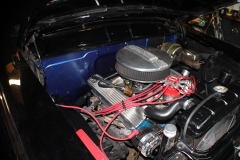
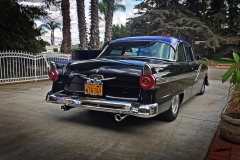
Quick history: I have had the car since 2004, in 2006 the 390 FE’s cam flattened and bent a push rod with a 30° angle. Jerry’s Performance Engines rebuilt the mill with a Chet Herbert Cam, ground to a mild performance duration. Since then I have driven it quite a bit and kept making upgrades as we went along. The intake blew a hole in it so we picked up an Edelbrock Performer 390, the carb took a dump so we added an Edelbrock Street Performer, and then more recently swapped out the 20 year old ignition with an MSD 6AL system.
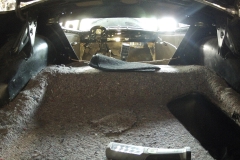
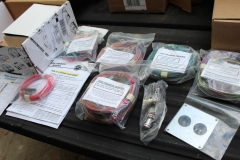
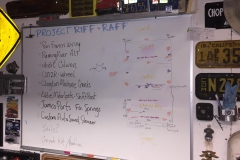
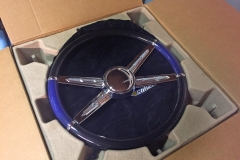
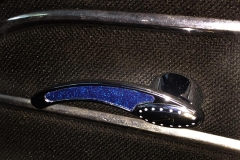
I am currently rewiring the car with a Ron Francis Express kit and a new hi output Flaming River Alternator. While we have it apart, I am installing an ididit chrome/tilt column, custom CON2R wheel and finishing the interior with an Eddie Motorsports shifter bezel. My mother in-law sewed up a shifter boot to match the custom vinyl inserts on the Clayton Machine handles and window cranks. When we get it on the road, we the car will head over to Cambra Speed Shop to install the pair of Jamco Parts front suspension.
Along each step of the process I have learned so much. One of the first things to do was plan out what I wanted to accomplish and in what timeframe. My goal was to be done with all that in the paragraph above by the end of the year. It is mid-January and I can say we have rounded 3rd and heading for home.
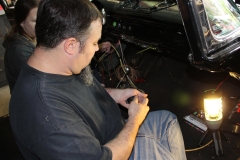
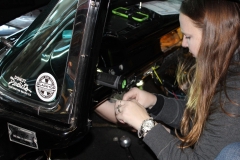
The main challenge was the wiring. I have never wired a car before. So much to learn not only about electrical systems, but in layout as well. Craig Maiorana has been a big help sharing tips on re-wiring the car. For the past 9 months I have been getting advice on wiring from any one, any where. My friend Albert Traille suggested terminal blocks to gather groups of positives and grounds. Another buddy, Michael Harding recently installed the same Ron Francis kit on his ’65 Belvedere and he shared his antics with the kit at Rod Authority.
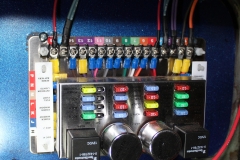
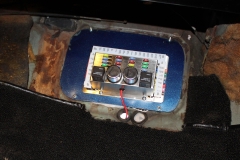
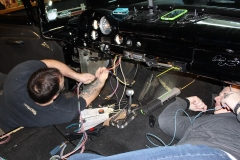
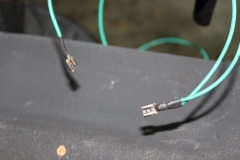
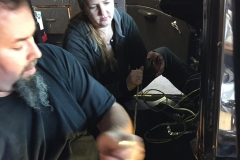
As I write this article, we are beginning to connect all the wires and get this thing electrified since beginning to tear it down 6 weeks ago. Yes, I am taking my time and being patient with Craig’s time as well. Now that he has shown me how to solder the terminal ends, I spent last night wiring up the ignition switch and light switch with the fuse panel. The Ron Francis kit makes it an easy task, one bag at a time and wiring it up to the specs on the wiring diagram.
THE LESSONS
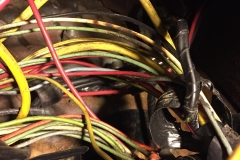
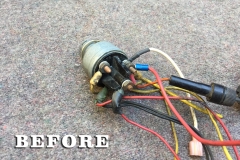
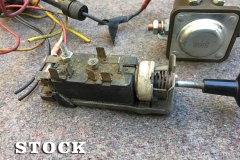
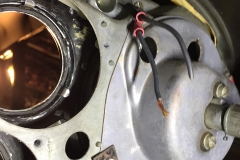
- Regularly inspect your car. When you have an old car, especially one that was modified or built by someone else, you should take some time on a regular basis to inspect every aspect of it. I can’t tell you the last time, I laid on the floor and looked up under my dash. I was really surprised to find there wasn’t a fuse panel in the car. It was HARD WIRED! There were two fuses on the back of the light switch, the only other fuse I found was an inline fuse for the electric radiator fan, and it was melted into a big plastic glob, AND STILL WORKED! I also saw in the rat’s nest of wires behind the gauges that there were some scorched casings. I am so fortunate that the car didn’t burn down. Whew! There were so many wires all bound up with electrical tape circling the engine compartment, some of the wires weren’t connected to anything! I am really surprised the car ran at all.
- Pay attention when tearing it down. As I was removing all the wiring, I started in the front and found the turn signals to be an interesting challenge to remove. I am sure it will be a pain to bolt them back to the fender and front panel. When I was under the dash removing the switches and gauges, it suddenly hit me: “Am I going to be able to put this car back together again?” Immediately, I replied to my thought. “Of course you will. Most likely with help from a few friends.”
Stay tuned as we continue the project and share the progress with you here.

