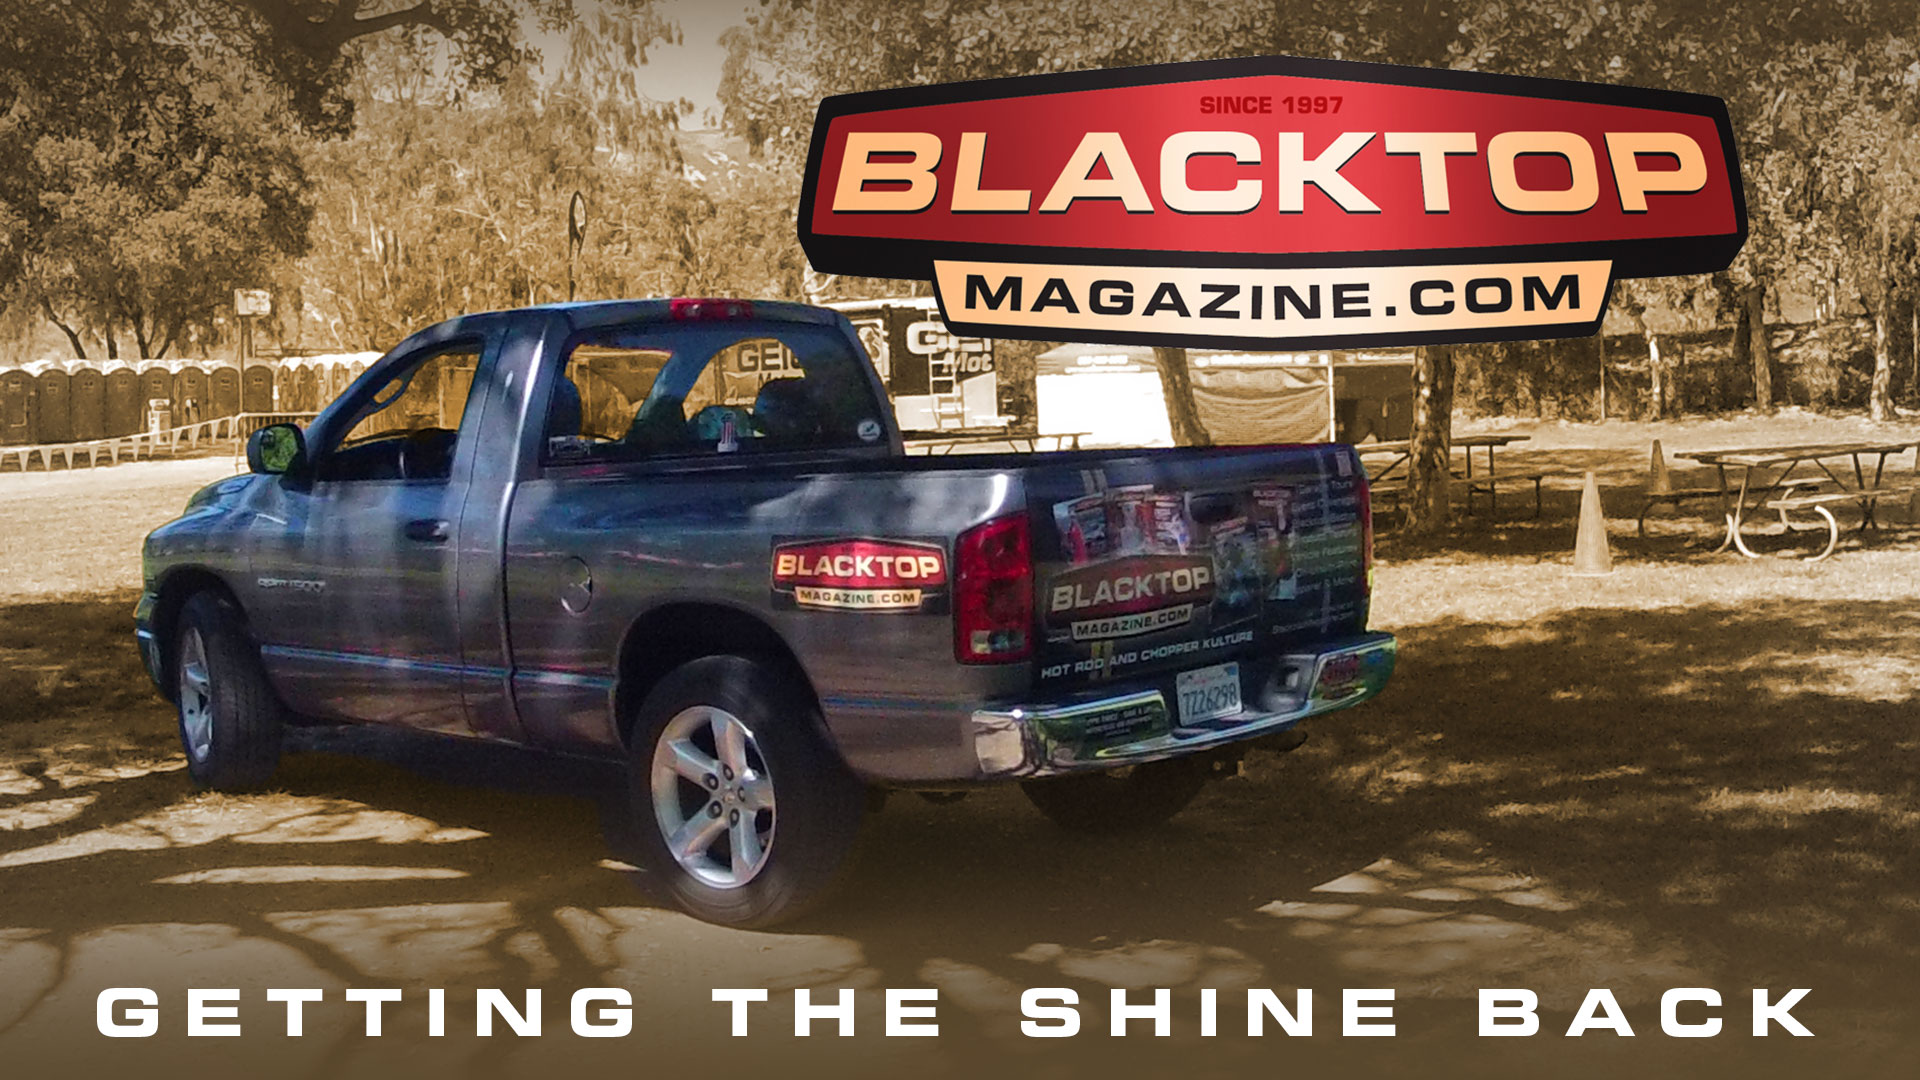
DAILY DRIVER REPORT

By Shop Doggie Hilda

The Blacktop Bruiser has been neglected. I know, we are all sad. However, there is light at the end of this tunnel.
You may recall that the boys have been learning quite a bit at the Meguiar’s Garage. Michael Stoops and his team have been sharing some techniques with Project Riff-Raff. First they took out the multi-layered swirl marks that were the result of poor use of micro-fiber towels and having a drive-by detailer take a rotary buffer to it, not realizing he doesn’t know what he was doing.
So now, Tony thought, he’d take some of these lessons and products to test on the Blacktop Bruiser, his ’05 HEMI RAM. The stock silver paint has been through a lot and the past couple of years, simply received a hard water hose and sponge series of washes. The silver had a bluish grey haze over mostly the top surfaces.
So let’s get to it and see if Tony can make this thing shine again.

First off is to clean the surface properly. After a good sponge bath he ran a strip of tape to bisect the hood so you can see the difference from the before to the after.
Next he took a new clay bar and saturated it with the Meguiar’s Quik Detailer. (Use the Maroon bottle, it has better lubrication for the clay bar.) Keeping the surface wet and regularly kneading the clay to find a clean spot gently rub the surface of the paint in 2 square foot segments at a time and wiping clean with a good micro-fiber towel.

After the clay bar treatment it is time to break out the dual-action polisher. He felt confident to go at this decade-plus old factory paint hearing Stoops in his head: “It’s virtually impossible to ruin your paint with the dual-action polisher. Unlike a simple rotary polisher, which you can easily burn or damage the paint. Especially on the edges.”

I saw him go with the red Foam Cutting Disc on the Meguiar’s MT300 D/A Polisher and Meguiar’s Ultra Polishing Wax. Sometimes this combination can leave a bit of a haze. After wiping off the residual wax, there was no haze on this paint. In the detail you can see how the brightness and color came out of the surface.

Next he thought to finish it with a thin coat of the Meguiar’s Ultimate Paste Wax. Michael showed him on the last visit to the garage that you don’t need to goop on a whole bunch of paste wax. A super thin coat is all you need. Once the polymers touch the paint, they sticks to it protecting the surface, any thicker and it’s wasted. Not to mention how hard it is to remove thick swirls of dried paste wax.

As you can see, it’s pretty shiney and this entire half of the hood took about an hour to complete, so take your time and get the best results. In the coming week he finished the entire truck, noticing that the horizontal surfaces, hood, roof, tops of fender lines, etc. were especially oxidized and damaged. I heard him mumbling to me, that nearly 12 years of sitting outside, the paint is holding up pretty good. Dings and scratches for sure, this is a work truck and all.

By the way, this article was not paid for or sponsored by Meguiar’s, they simply invited us over to their garage to learn some tips on Riff-Raff and left us with the products we used and we are sharing it here with a factory paint job for you.
Tony says: “I have noticed a change in the Meguiar’s product formulation in the past several years. Back in the 90’s and early 2000’s I found Meguiar’s Instant Detailers to cake up and difficult to remove. Today they work great and are easy to use. I can clean Riff-Raff with their Ultimate Quik Detailer (in the black bottle) in less than a half hour.”
I have to say, this process sure took the “ruff” spots out of the truck and made it nice and smooth again.