Don’t you just dig the projects where everything goes as planned? Can you tell me what that is like? Lately it seems that everything I touch just snowballs into a big deal. Case in point working on the Blacktop Bruiser lately.
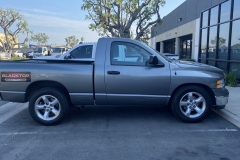
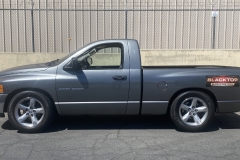
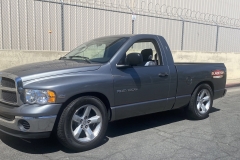
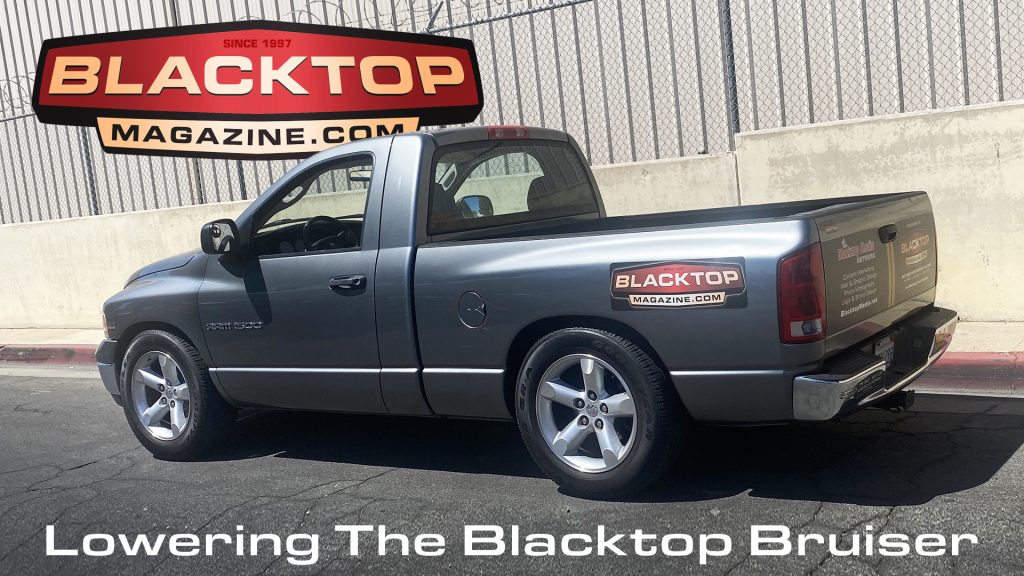
The Blacktop Bruiser is a 2005 RAM 1500 5.7L Hemi standard cab/short bed truck. It’s a truck and I use it like a truck. I haul stuff for the house, I haul stuff to the swap meets, I haul bikes to the shop. With 91K miles on it, she has served me well. I have added some cool stuff in the past. Custom Magnaflow Performance Exhaust, AEM Cold Air Intake, Hypertech MaxEnergy Tuning, Accel Coils, E3 Spark Plugs, and a JET Performance Throttle Body and spacer. Now it’s time to get the outside looking like the way it runs.
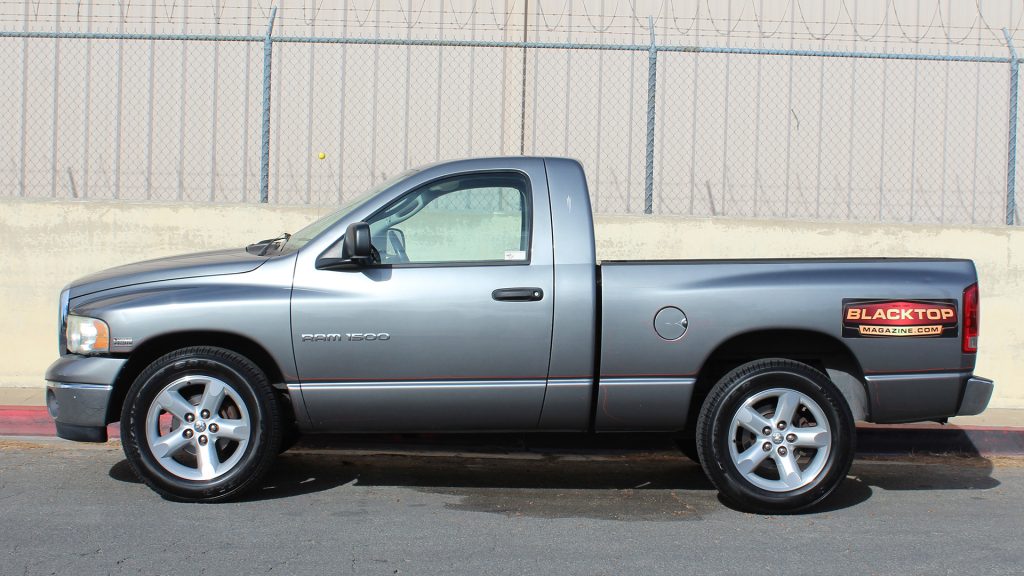
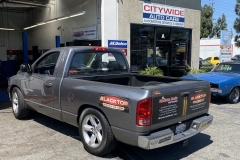
I was surfing the web looking for a lowering kit for the truck. I have always wanted to lower it, so it would look more like the blacktop bruiser it claims to be. I saw a Belltech Suspension kit that would do it just right. I opted for the 2/5 kit part number 811SP. This will bring the nose down 2” with new shocks and springs, and level off the back with a 5” “flip-kit” in the back. The flip kit works by relocating the leaf springs UNDER the rear axle. The kit comes complete with everything you need, and my friends suggested I can do this on our driveway, but I opted to have a professional work on it so I took it to Bruce at Citywide Auto Care in Orange, CA.
Here’s where the work started to pile up…
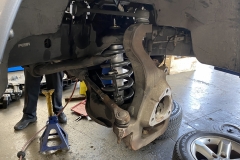
Lately the truck has picked up the nick-name “Ol Squeaky”. During dry days, the front end squeaks on turns and in dips. Not thinking too much about it, other than it has 91K miles, I tried to look away when people heard me and stare as I navigate around the Home Depot parking lot. Bruce saw the problem right away and it was the ball joints up front. These Ram ball joints are not greasable, so after the boots have failed, they get worn real quick. Quite un-safe as I learn today, when a ball-joint separates, you can lose a wheel. GADZOOKS!
Lower ball joints and upper control arms are on their way from the local parts store! AND we will need some axle bearings too. And of course, we can’t just change the bearings, we have to replace it with all new axles too.
But wait, there’s more!
The brake pads were about ¾ worn in front and back and the rotors were just above spec, so let’s get new pads and rotors all around too. They say that steering, brakes and suspension are important, so let’s take care of business while we are tucked under the wheel wells. This is another reason I am glad to take the truck to a pro. I may have looked right over those things.
NOW FOR THE INSTALLATION
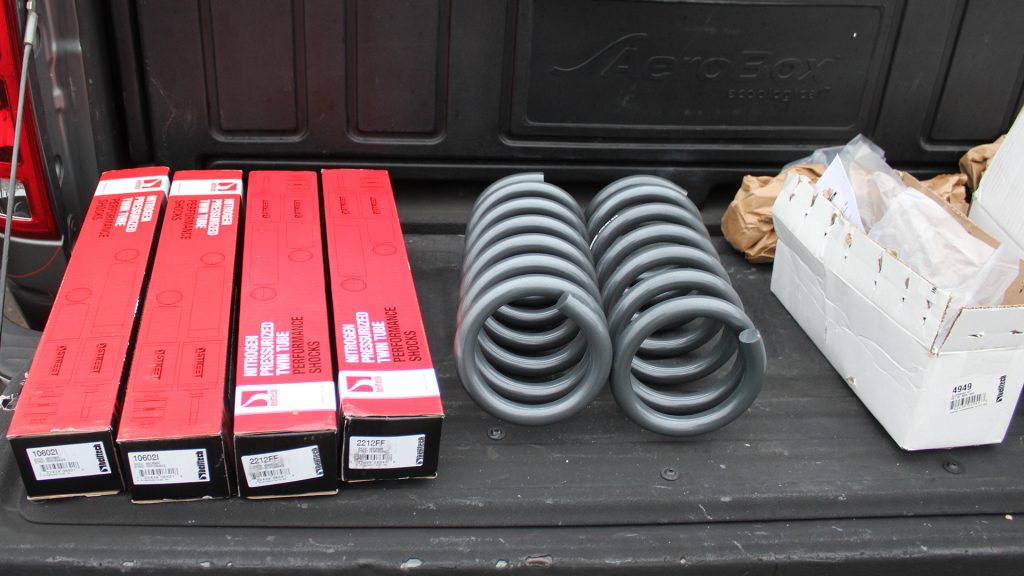
After we get all the maintenance issues out of the way, we get busy installing the new stuff. The front end is fairly simple. We install the new alignment kit, and change out the shocks, springs and supplied bump-stop and it drops down a couple of inches. Since we had the front end nearly completely apart, it was easy to get to.
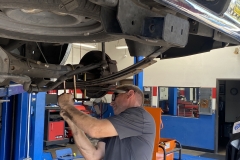
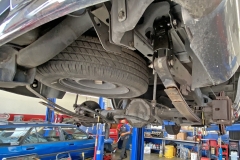
The rear is a bit more challenging only in the amount of work and careful consideration. The instructions are great and helpful through the whole process. Essentially we prop up the rear axle housing and start removing key components. First off was the shocks. Next we unbolt the Hellwig anti-sway bar. Although we may not have needed to remove it completely from the axle. It was best so as to not disturb the brake lines. Then we removed the leaf springs and the rear shackles. On the leaf springs we removed the shackle plate on top. The rear bump stops were removed and the new bump stop plates were installed. We opted to have the bump stops outside the frame, as the left side brake lines looked to be in the way of any pressure.
Bruce installed the new axle saddles on the leaf springs. Belltech did a great job of designing them where the upper tabs meet into the original saddles on the top of the axle. This keeps the pinion angle in check and there is no guessing on any turn of the rear end under stress. There is one thing else I’d like to do, and that is to weld the flip kit axle saddles in place. Although safe to drive, there is an addendum to the instructions to apply a 2” weld on each side of the each axle saddle. They suggest to drive it a bit first and make sure everything is seated in place, bolts all tightened to specs and then weld the axle saddles in place on the axle.
Installing the leaf springs, we put on the new shackle plate. We bolt everything back up loosely until we drop it to the floor then go and tighten it all up to specs.
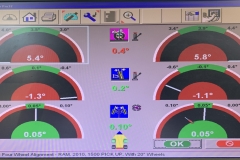
We set it up on the alignment rack and do a four wheel alignment on the truck. After a few adjustments, it measures up to spec and we are ready to roll.
For more detail on the installation we invite you to click the links below to view the instructions provided by Belltech Suspension.
>Flip Kit | >Coil Spring Set | >Alignment Kit | >Shock Absorber 106021 | >Shock Absorber 2212FF
DAMN THAT LOOKS NICE
Now that all the work is done, what’s it ride like? Not a whole lot of difference in the ride quality. The suspension is a bit tighter, especially up front with new springs. It handles better around the turns, although I haven’t really gotten on it yet until we weld up the axle saddles.
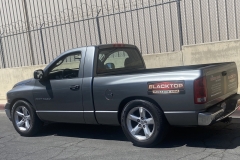
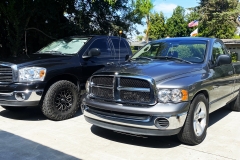
I get out of the truck after a short run around the block and I immediately notice the ground is much higher than it was before we lowered the truck. Billy comes over to check it out and he saw a big difference in the height of the bed. He said the tailgate is at a perfect height for him to work on. Parked next to his RAM with 36” tires, the bed is about a foot lower than his.
I am very pleased with the new look to the truck. This simple drop sure makes a difference. Next up is to test it out with some load in the back and see how it handles it all. If it’s a problem, I may have to get the C-Notch kit or taller shackles in the rear.
Do you dig it? Check out Belltech.com to raise, lower or more to your ride.

